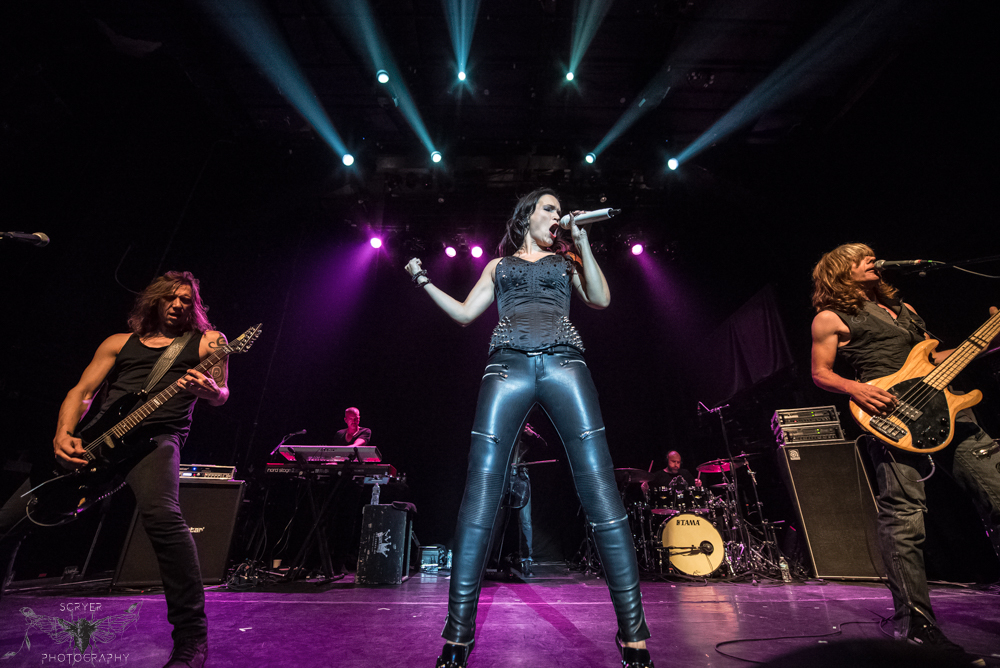
View fullsize View fullsize View fullsize View fullsize View fullsize View fullsize View fullsize TARJA: Gramercy Theatre / 2018 Marissa Rodriguez September 23, 2018 Tarja Read More
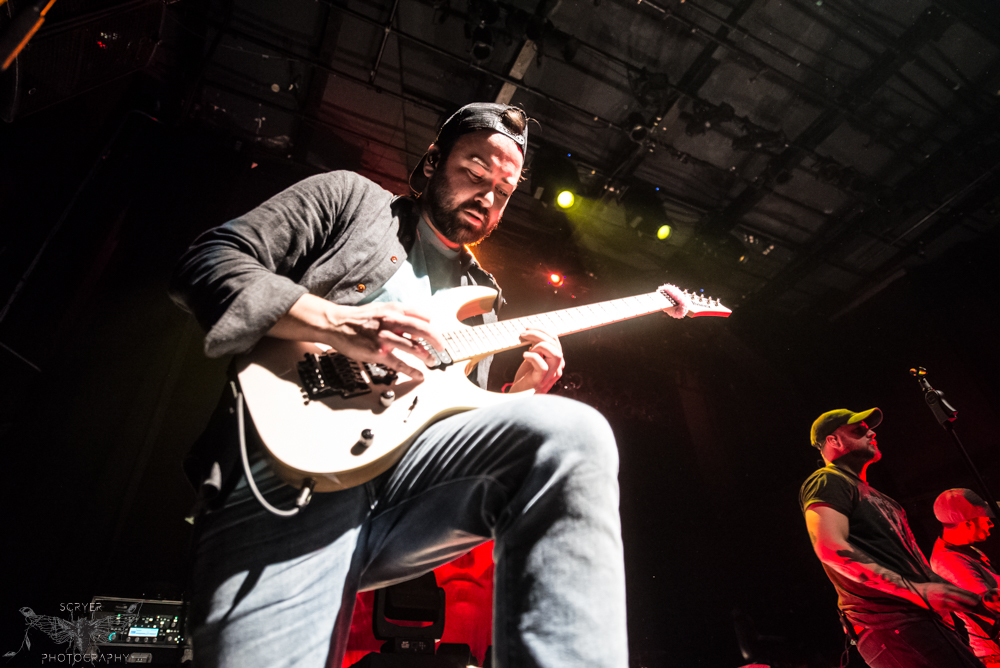
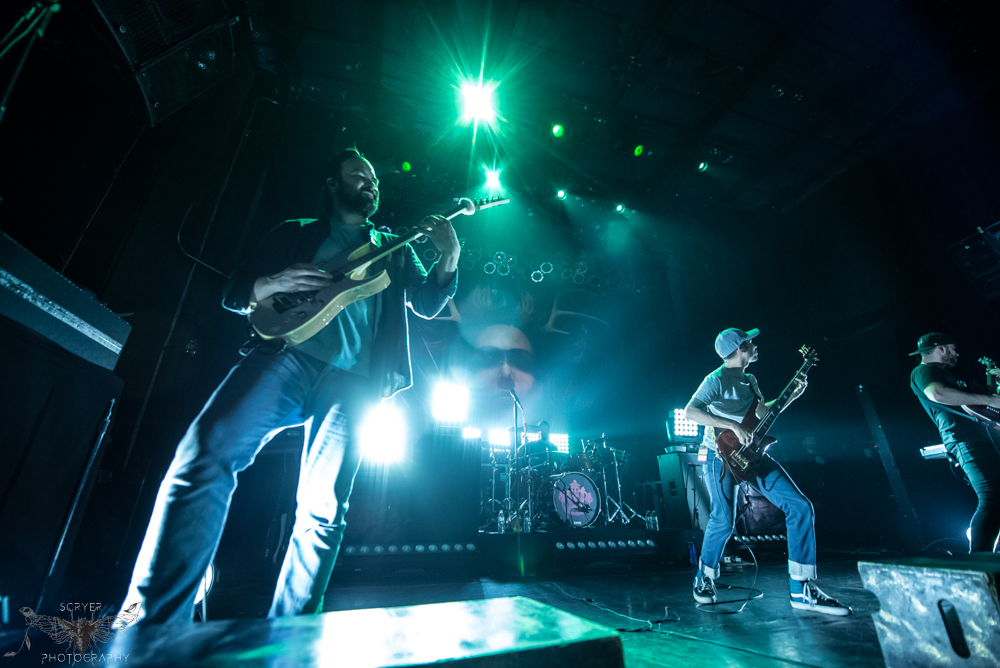
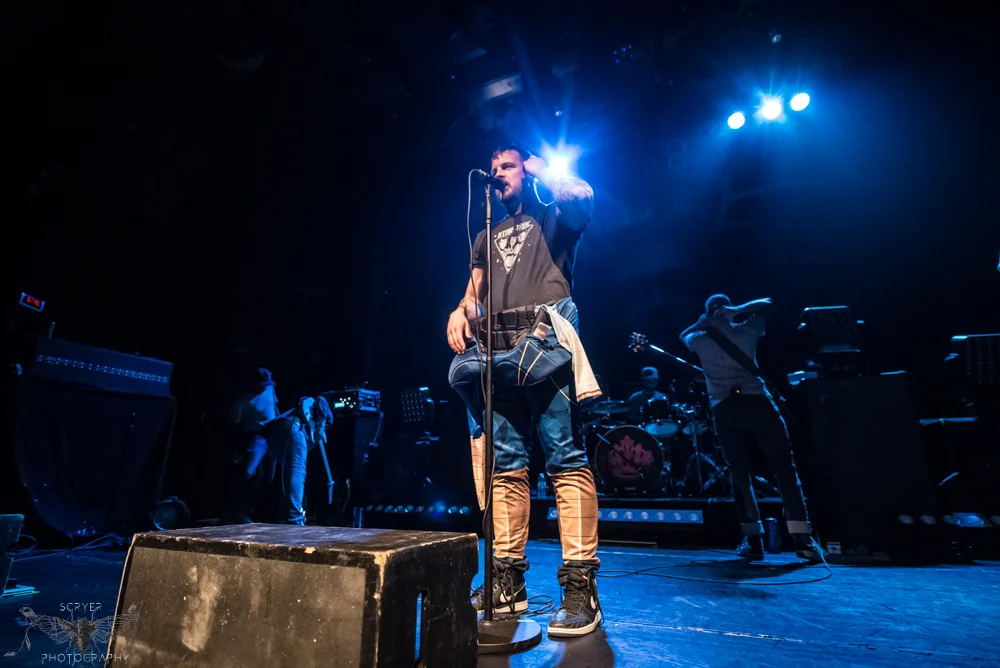
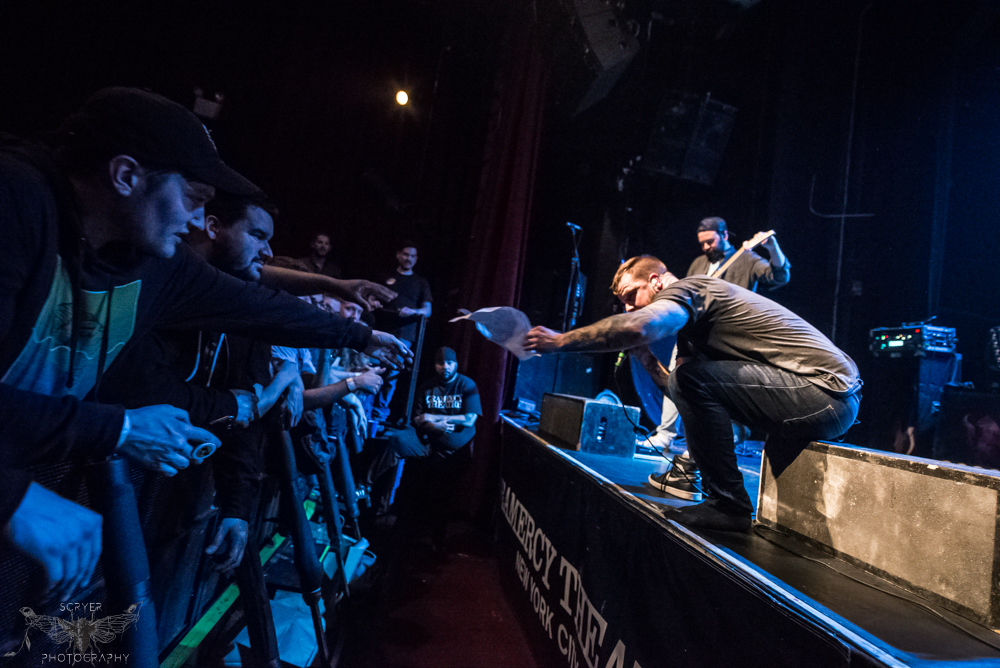
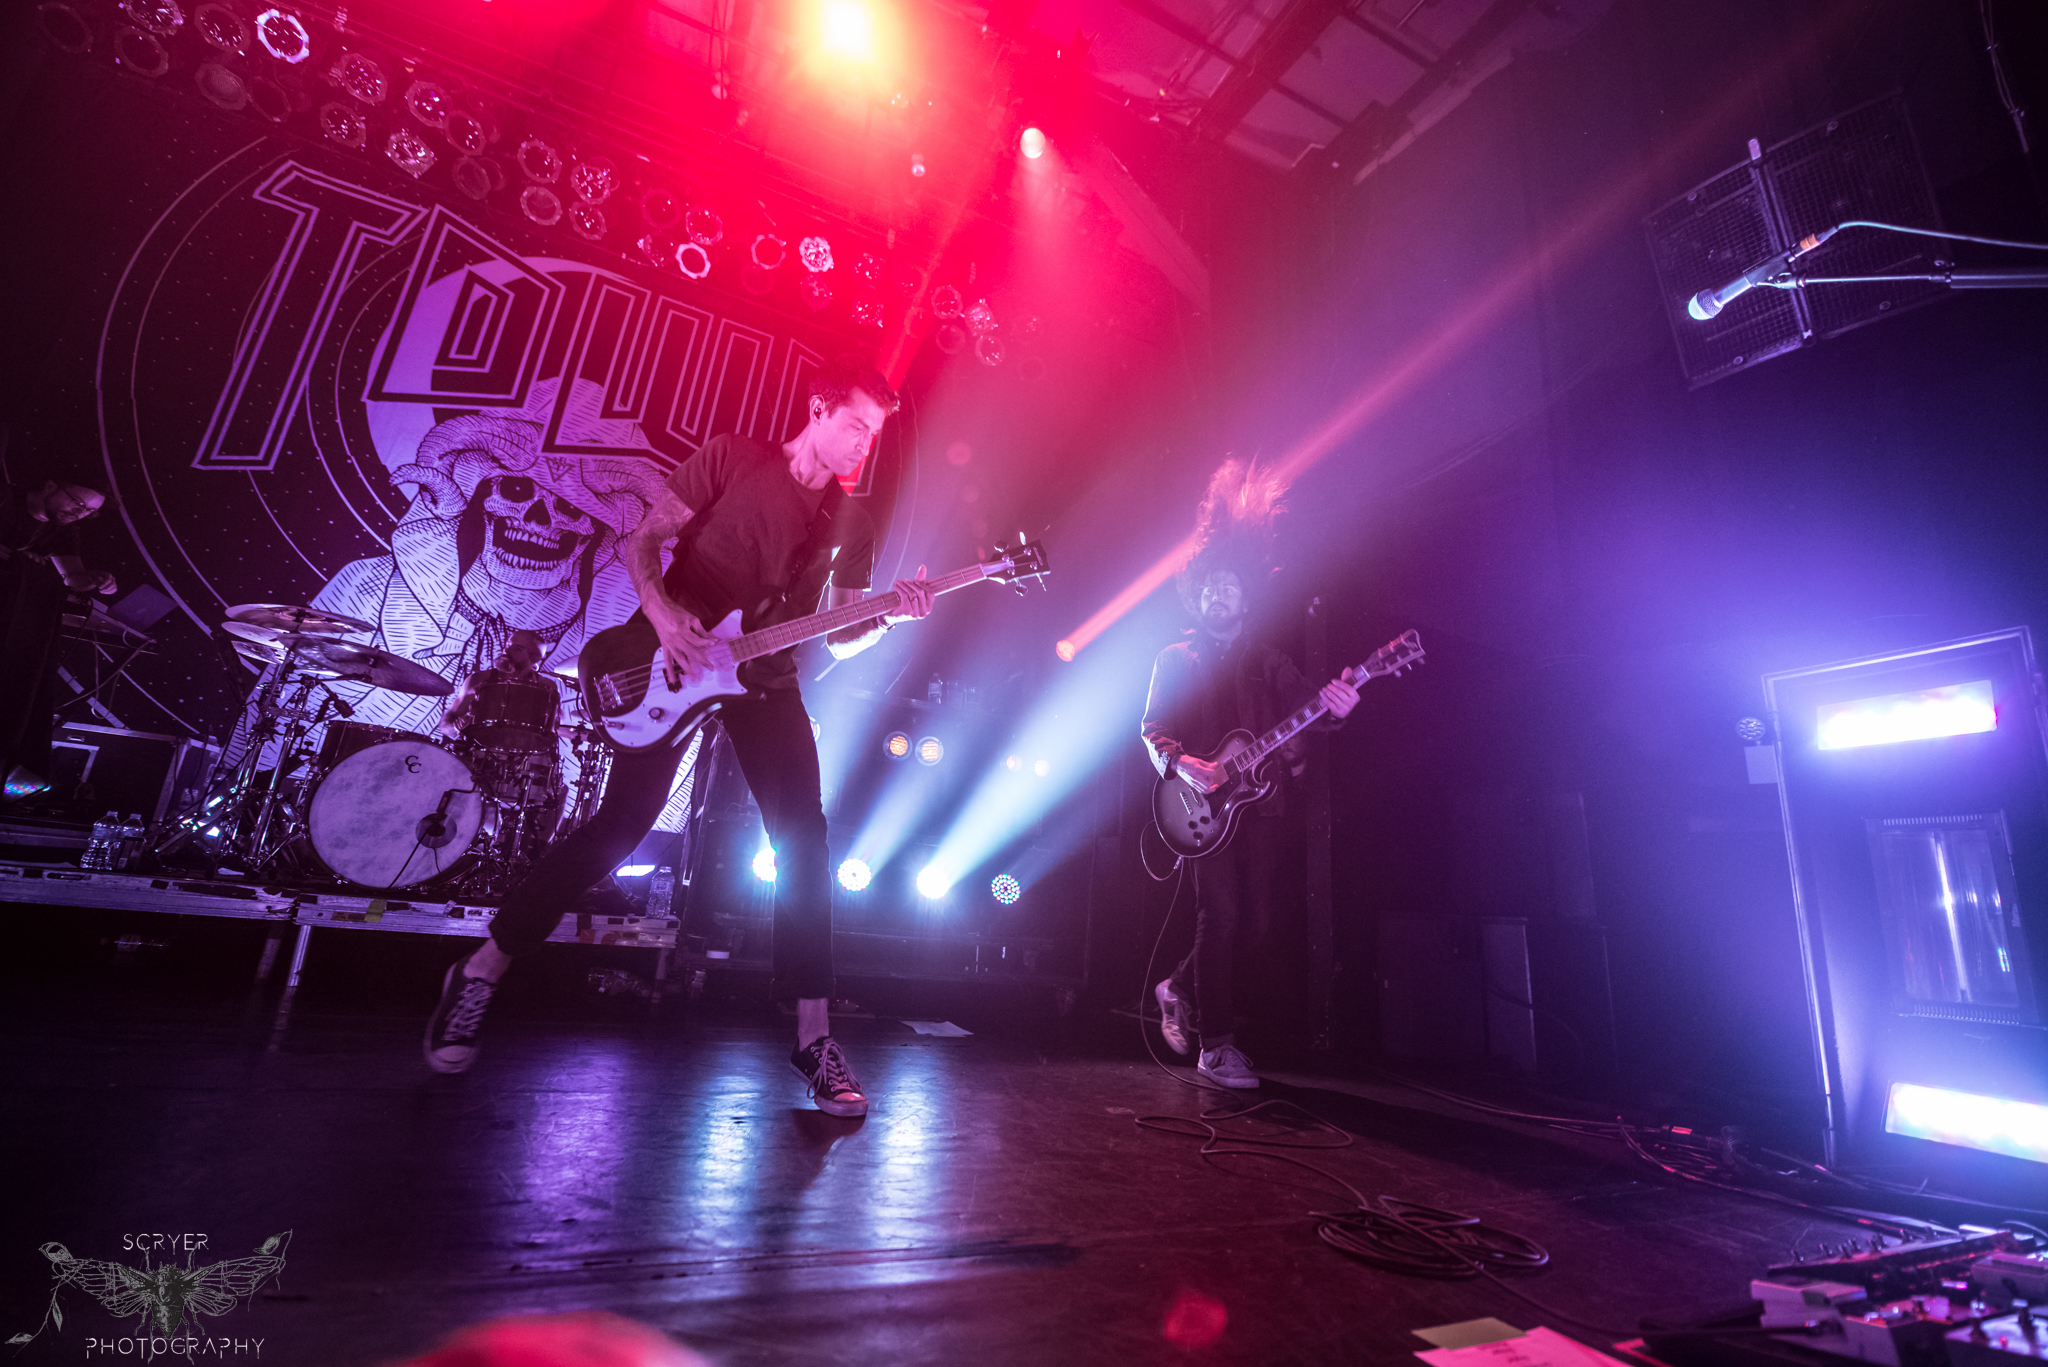
View fullsize View fullsize View fullsize View fullsize View fullsize View fullsize View fullsize View fullsize View fullsize View fullsize View fullsize View fullsize View fullsize View fullsize View fullsize View fullsize View fullsize View fullsize View fullsize View fullsize View fullsize View fullsize View fullsize View fullsize View fullsize View fullsize View fullsize View fullsize View fullsize View fullsize View fullsize View fullsize View fullsize View fullsize View fullsize View fullsize View fullsize View fullsize View fullsize View fullsize View fullsize View fullsize View fullsize View fullsize View fullsize View fullsize View fullsize View fullsize View fullsize View fullsize View fullsize View fullsize View fullsize View fullsize View fullsize View fullsize View fullsize View fullsize View fullsize View fullsize View fullsize PROTEST THE HERO: Gramercy Theatre / April 27, 2018 Marissa Rodriguez May 12, 2018
View fullsize View fullsize View fullsize View fullsize View fullsize View fullsize View fullsize View fullsize View fullsize View fullsize View fullsize View fullsize View fullsize View fullsize View fullsize View fullsize View fullsize View fullsize View fullsize View fullsize View fullsize View fullsize View fullsize View fullsize View fullsize View fullsize View fullsize View fullsize View fullsize View fullsize View fullsize View fullsize View fullsize View fullsize View fullsize View fullsize View fullsize View fullsize View fullsize View fullsize View fullsize View fullsize View fullsize View fullsize View fullsize View fullsize View fullsize View fullsize View fullsize View fullsize View fullsize View fullsize View fullsize View fullsize View fullsize View fullsize View fullsize View fullsize View fullsize View fullsize View fullsize View fullsize View fullsize View fullsize View fullsize View fullsize View fullsize View fullsize View fullsize View fullsize View fullsize View fullsize View fullsize View fullsize View fullsize View fullsize View fullsize View fullsize View fullsize View fullsize View fullsize View fullsize View fullsize View fullsize View fullsize View fullsize View fullsize View fullsize View fullsize View fullsize View fullsize View fullsize View fullsize View fullsize Avatar, The Brains, Hellzapoppin Sideshow Revue: Gramercy Theatre, January 2018 Marissa Rodriguez January 13, 2018
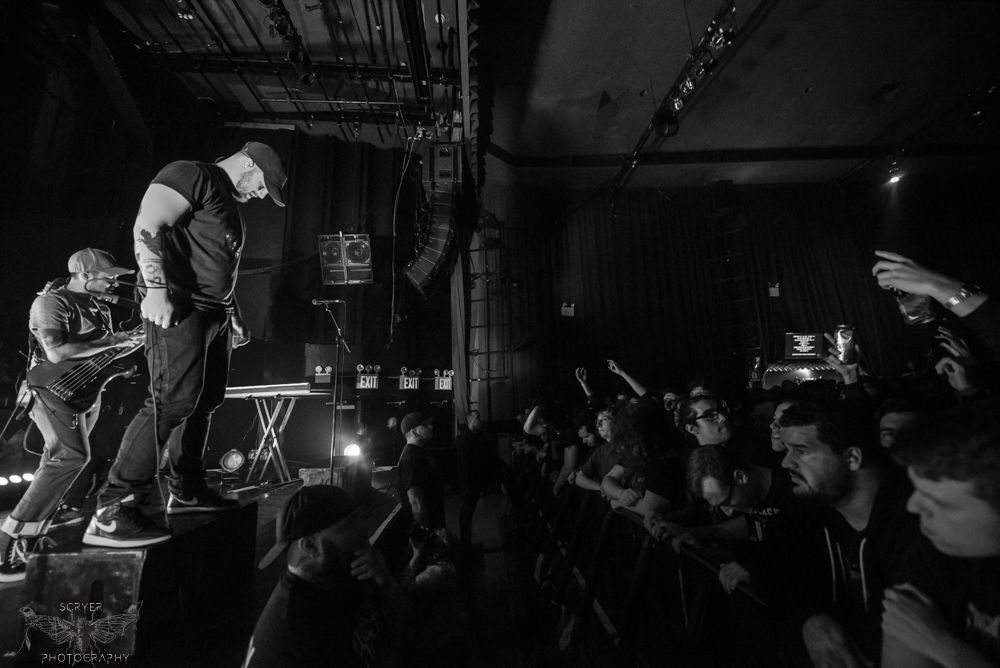
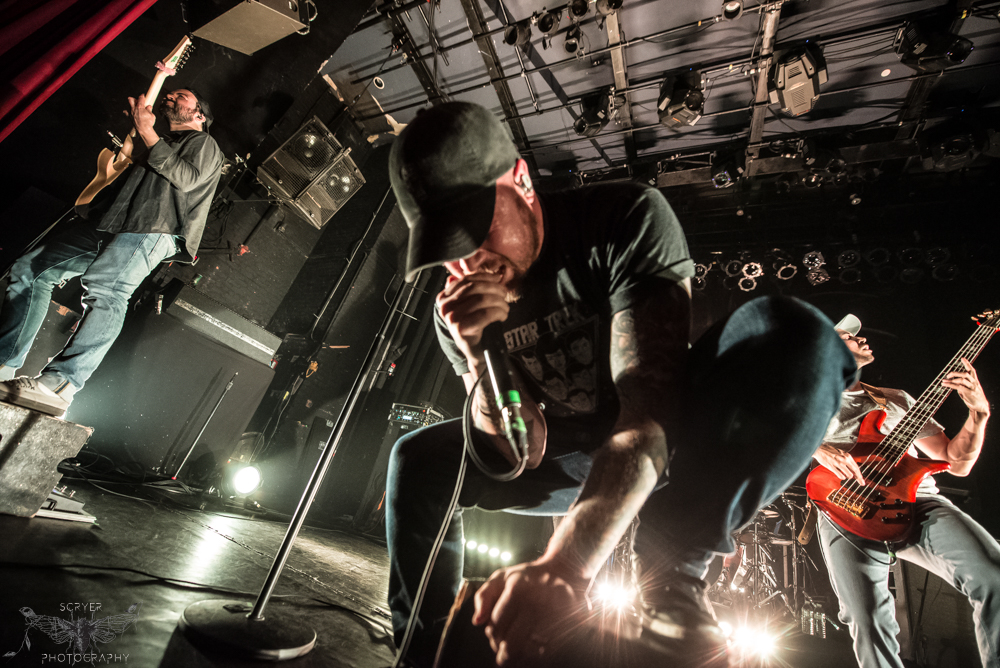
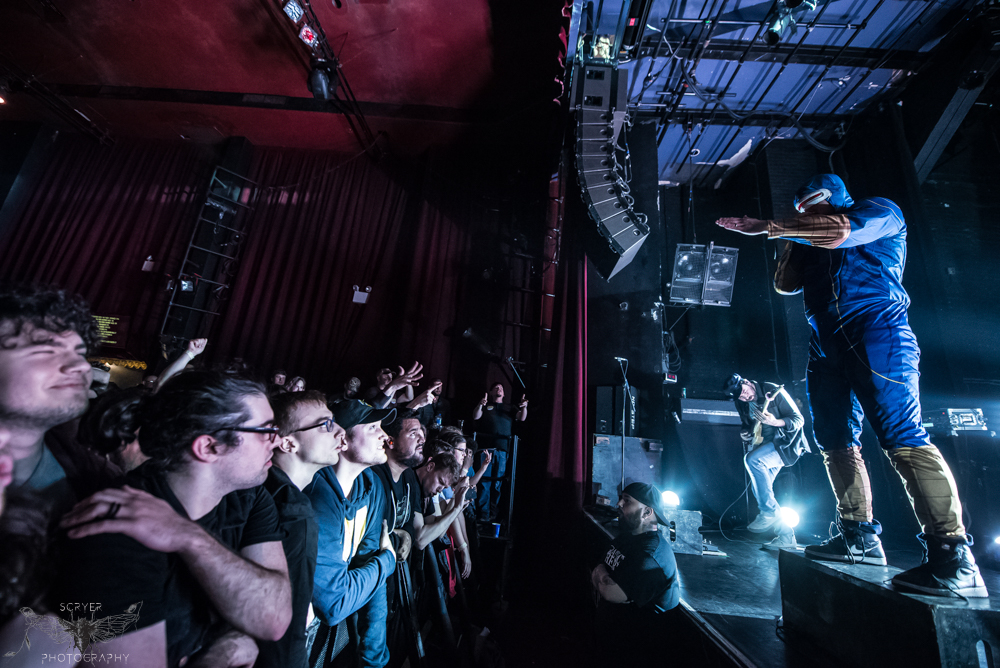
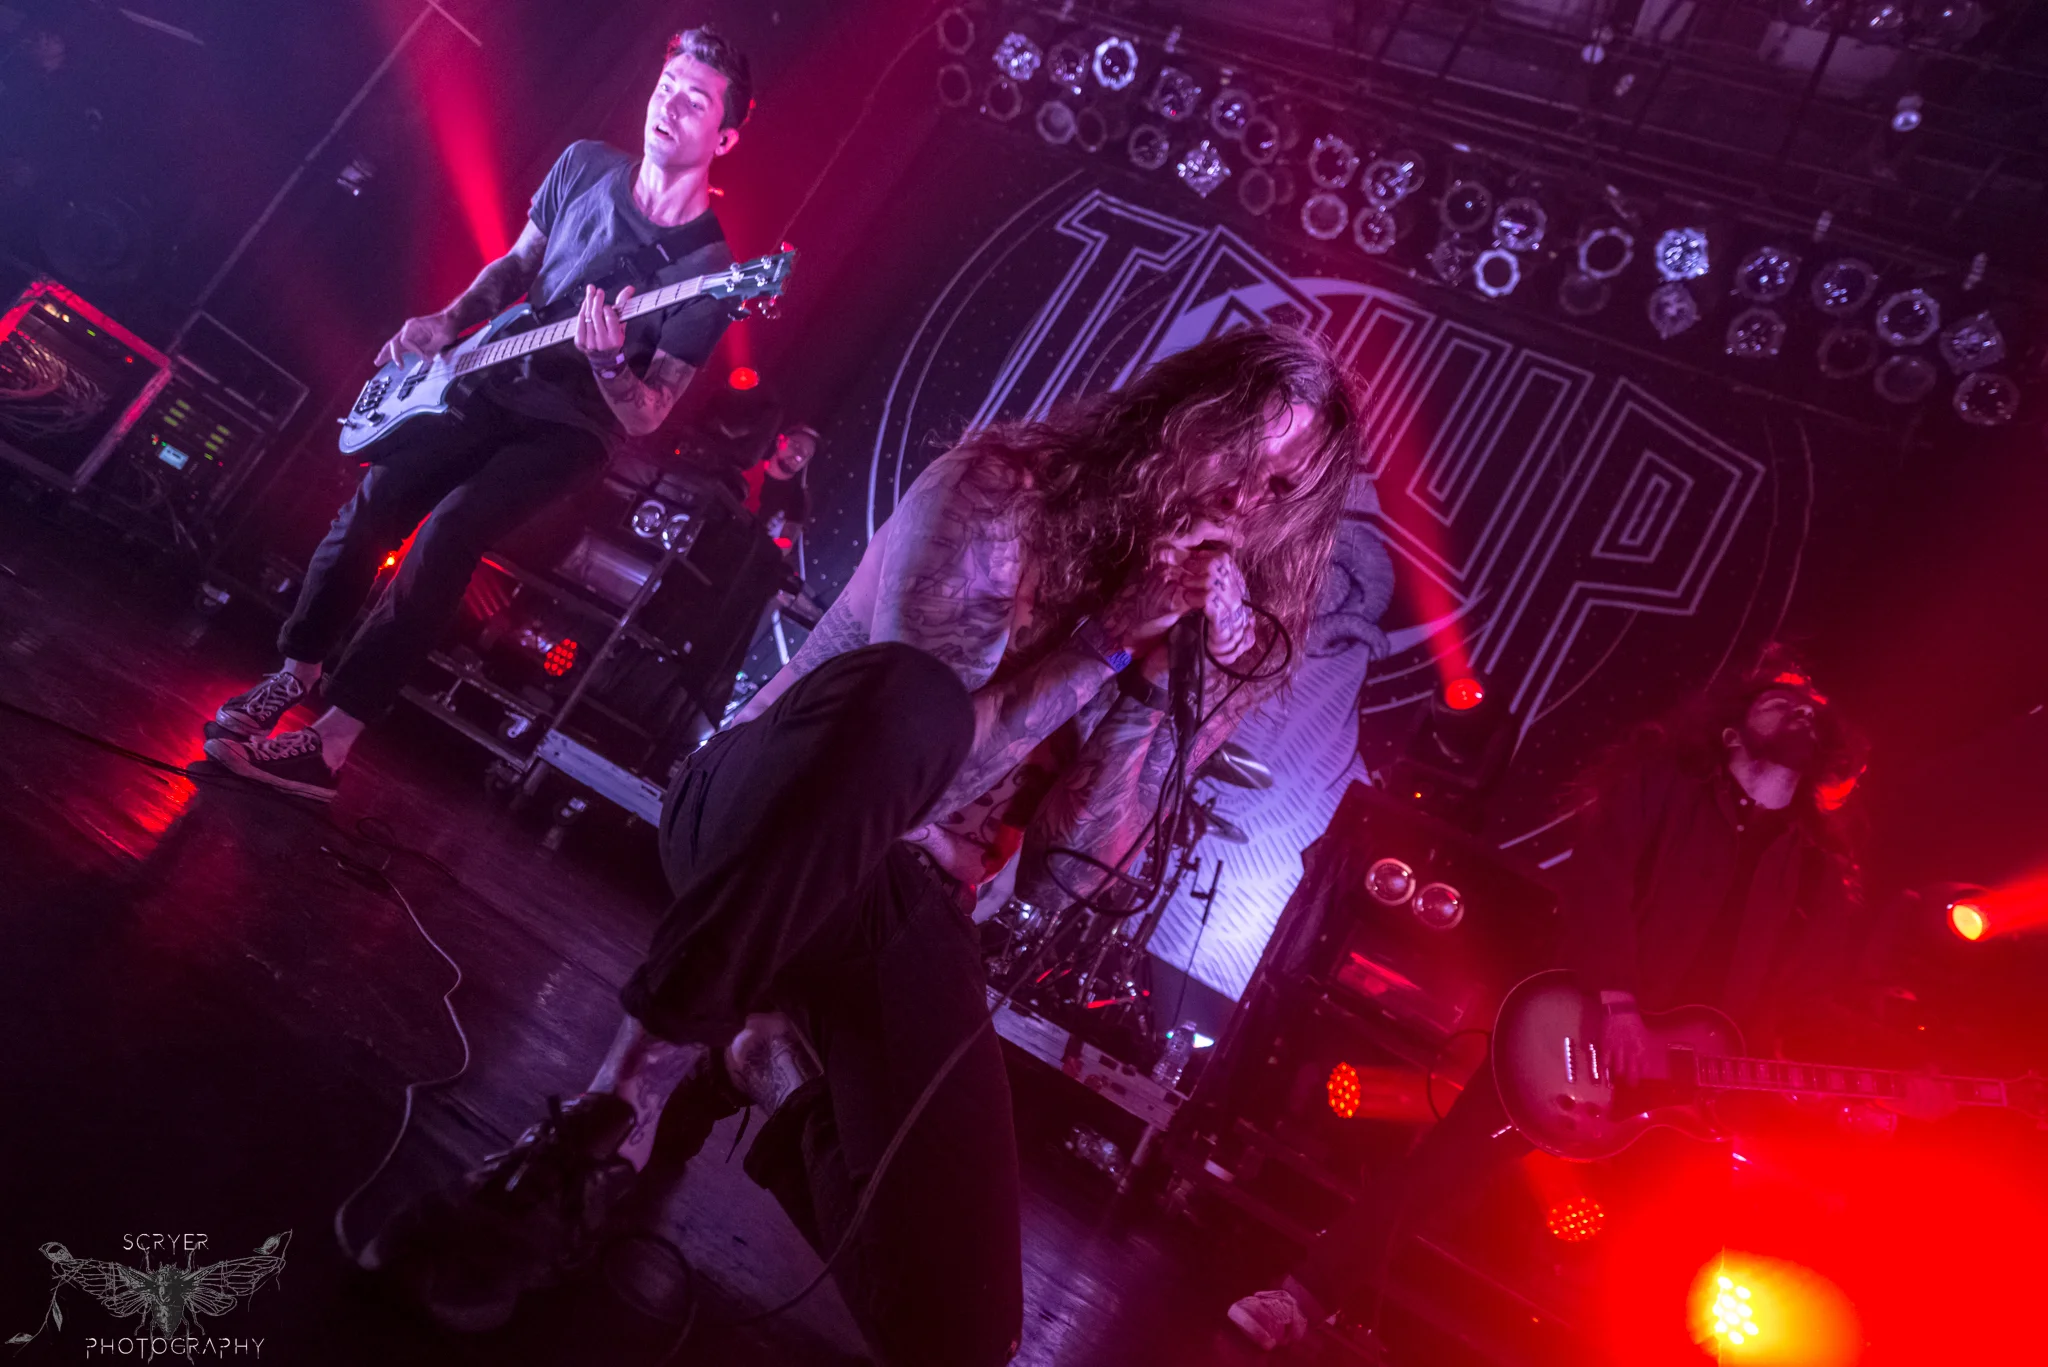
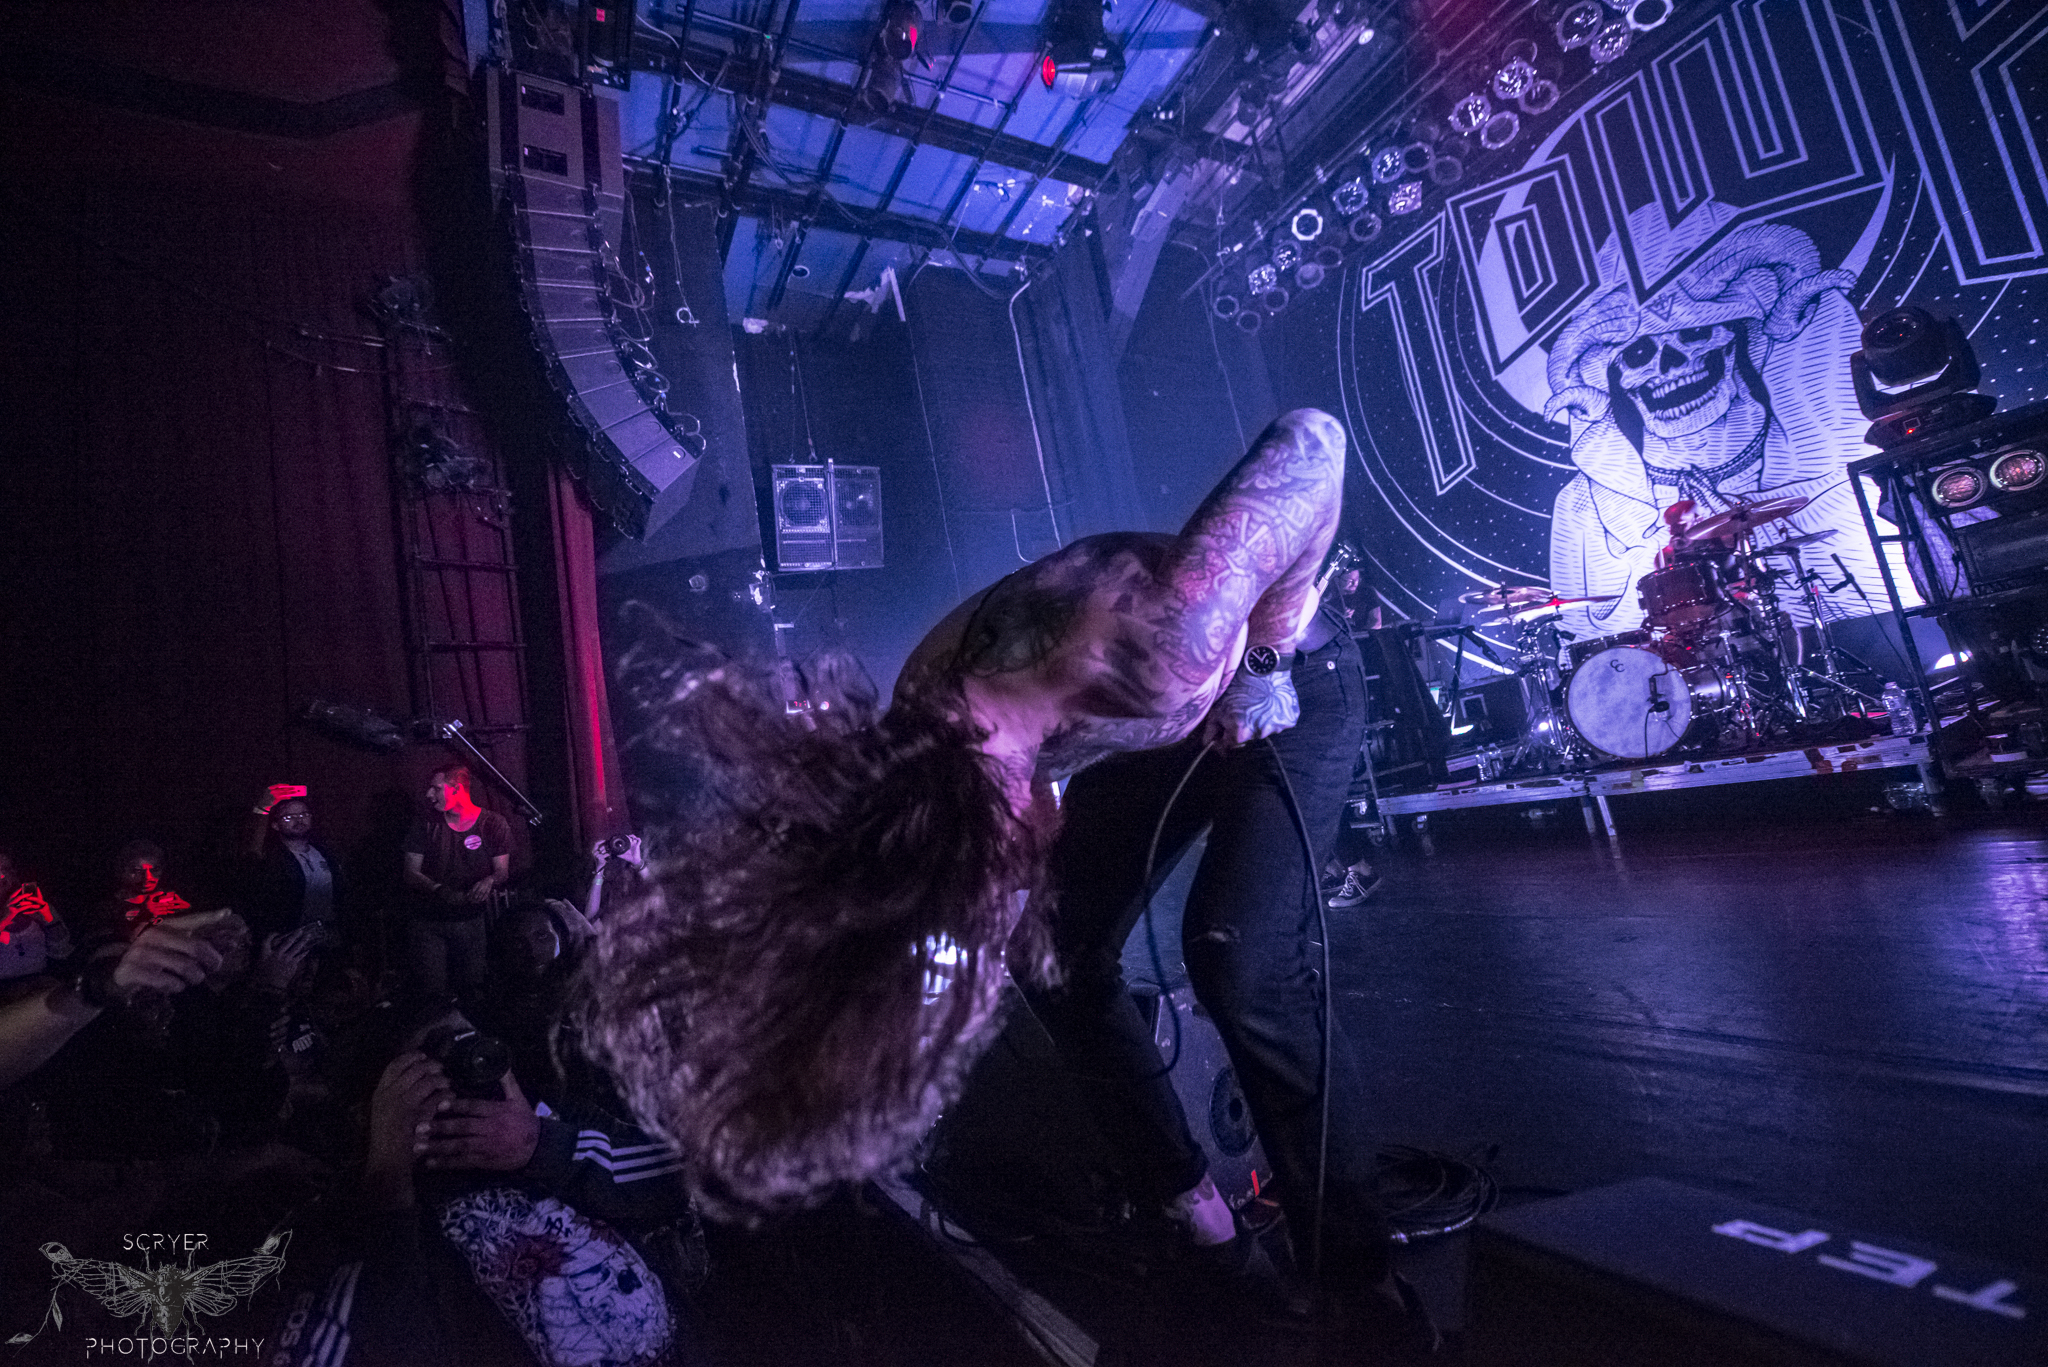
View fullsize View fullsize View fullsize View fullsize View fullsize View fullsize View fullsize View fullsize View fullsize View fullsize View fullsize View fullsize View fullsize View fullsize View fullsize View fullsize View fullsize View fullsize View fullsize View fullsize View fullsize View fullsize View fullsize View fullsize View fullsize View fullsize View fullsize View fullsize View fullsize View fullsize View fullsize View fullsize View fullsize View fullsize View fullsize View fullsize View fullsize View fullsize View fullsize View fullsize View fullsize The Devil Wears Prada: Gramercy Theatre, October 5, 2017 Marissa Rodriguez October 12, 2017
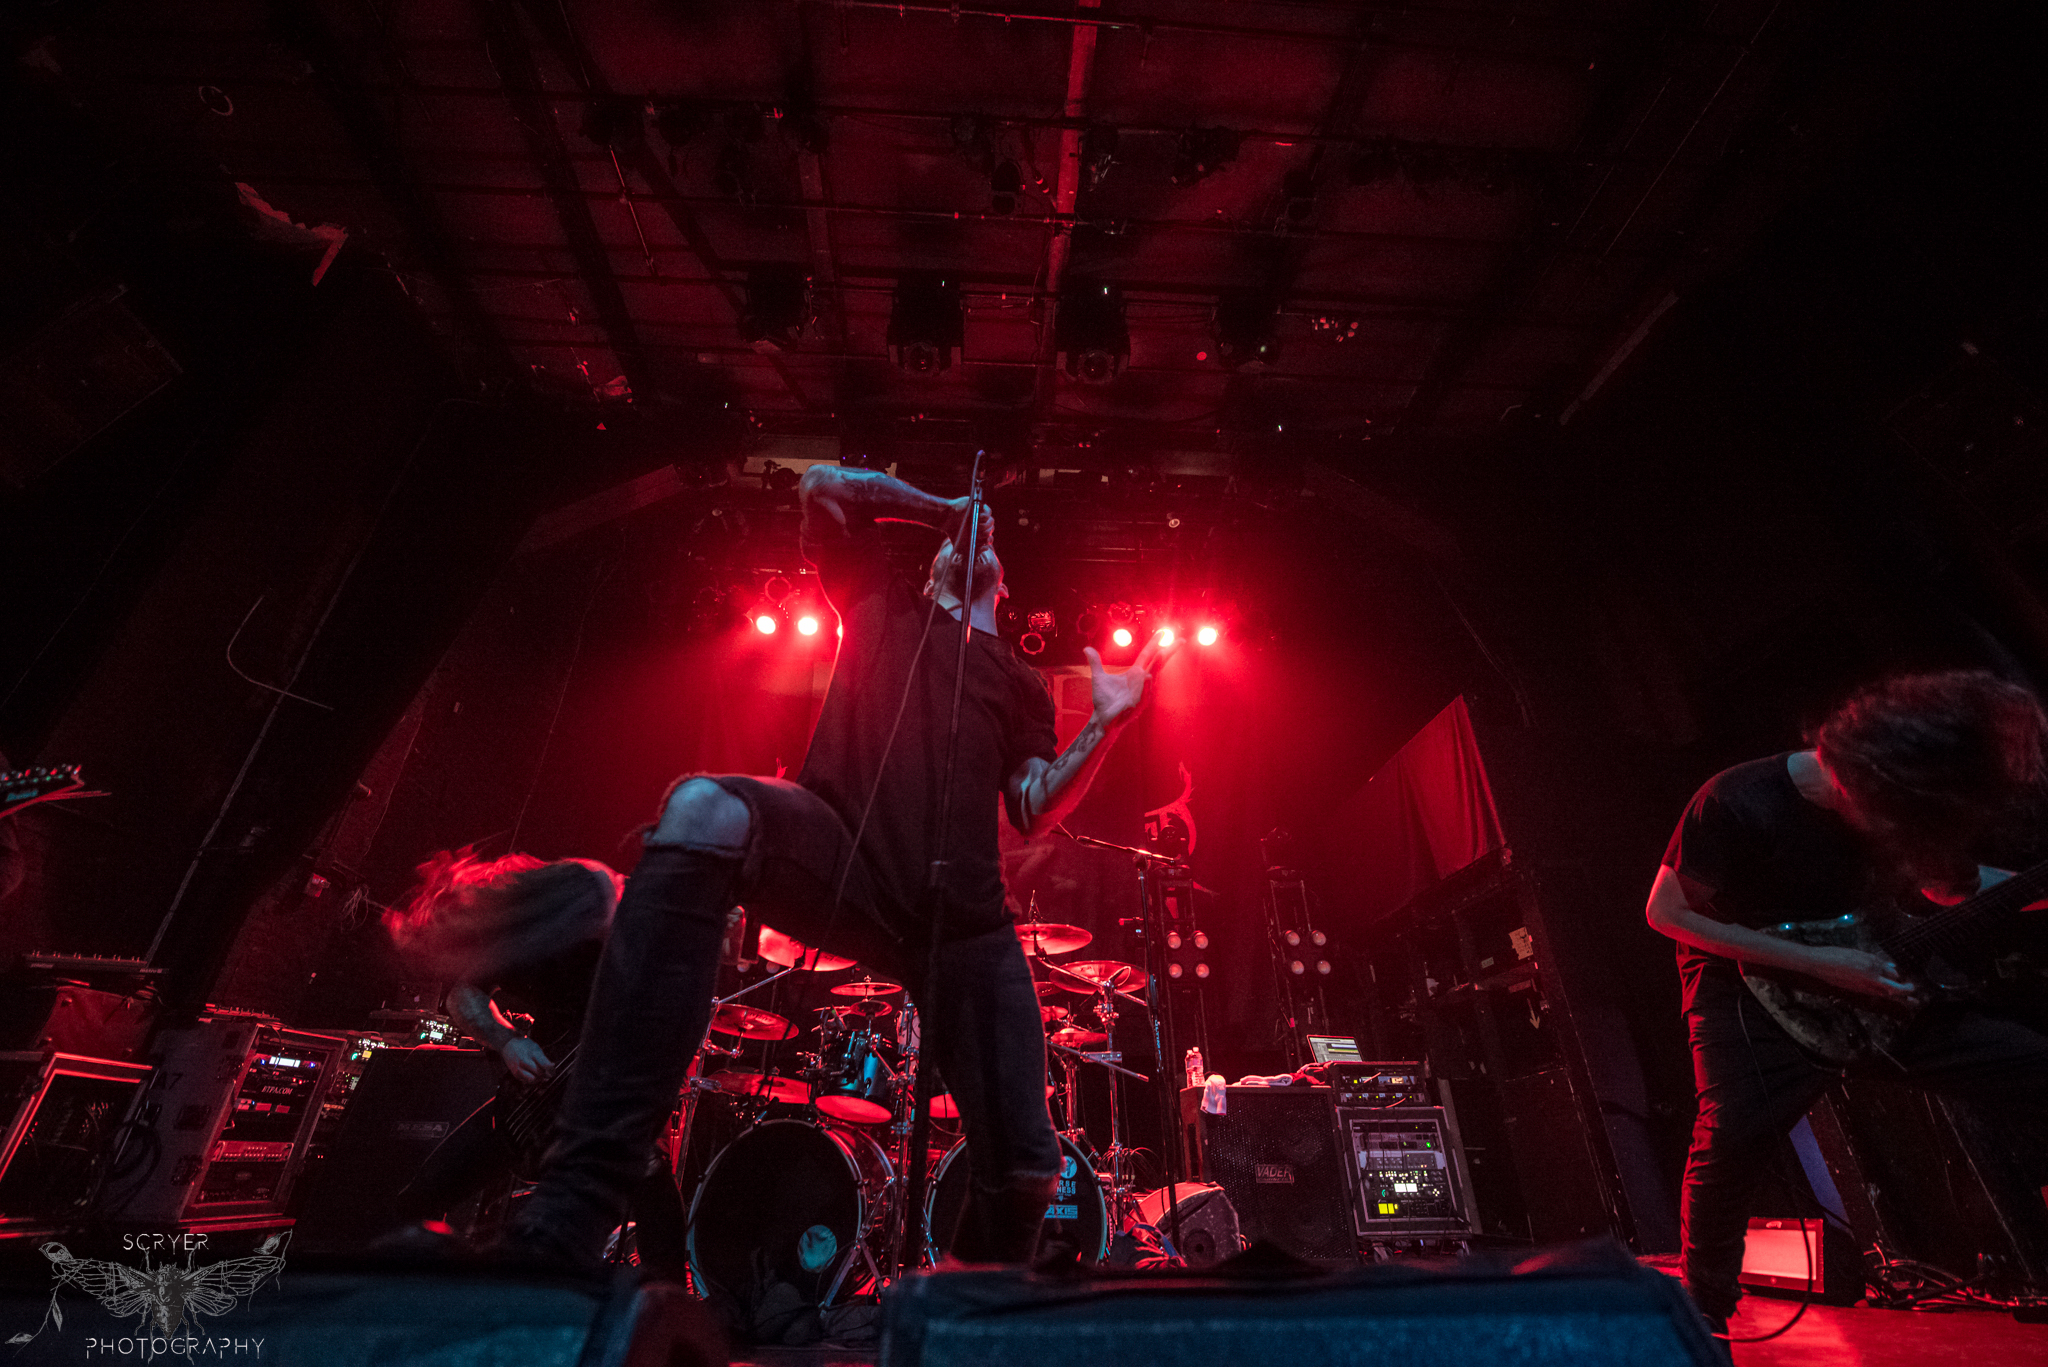
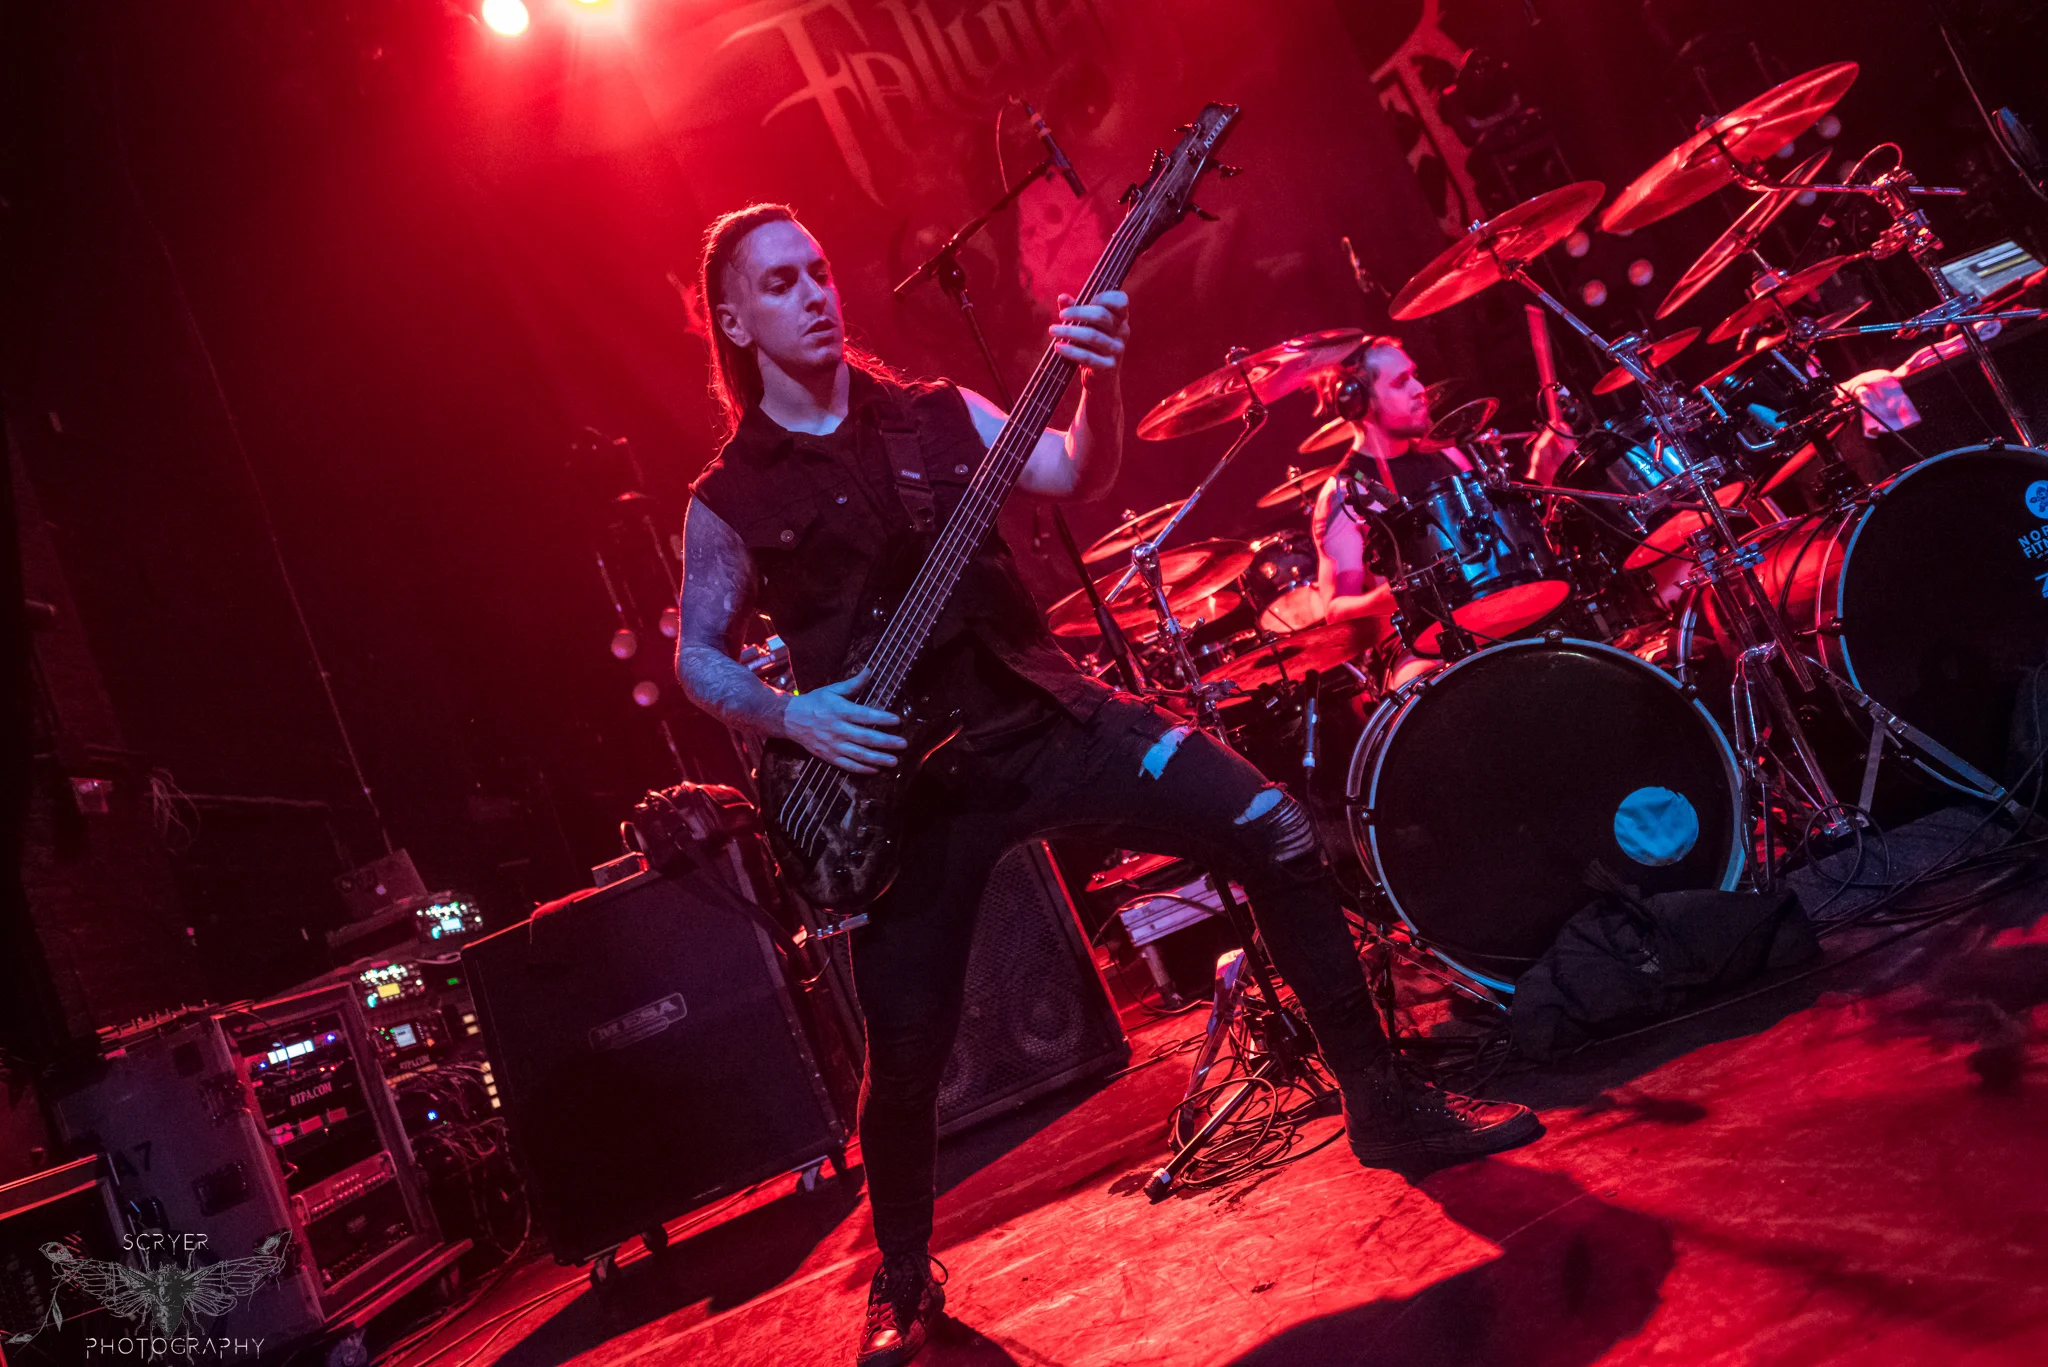
View fullsize View fullsize View fullsize View fullsize View fullsize View fullsize View fullsize View fullsize View fullsize View fullsize View fullsize View fullsize View fullsize View fullsize View fullsize View fullsize View fullsize View fullsize View fullsize View fullsize View fullsize View fullsize Fallujah: Gramercy Theatre, September 21, 2017 Marissa Rodriguez September 28, 2017
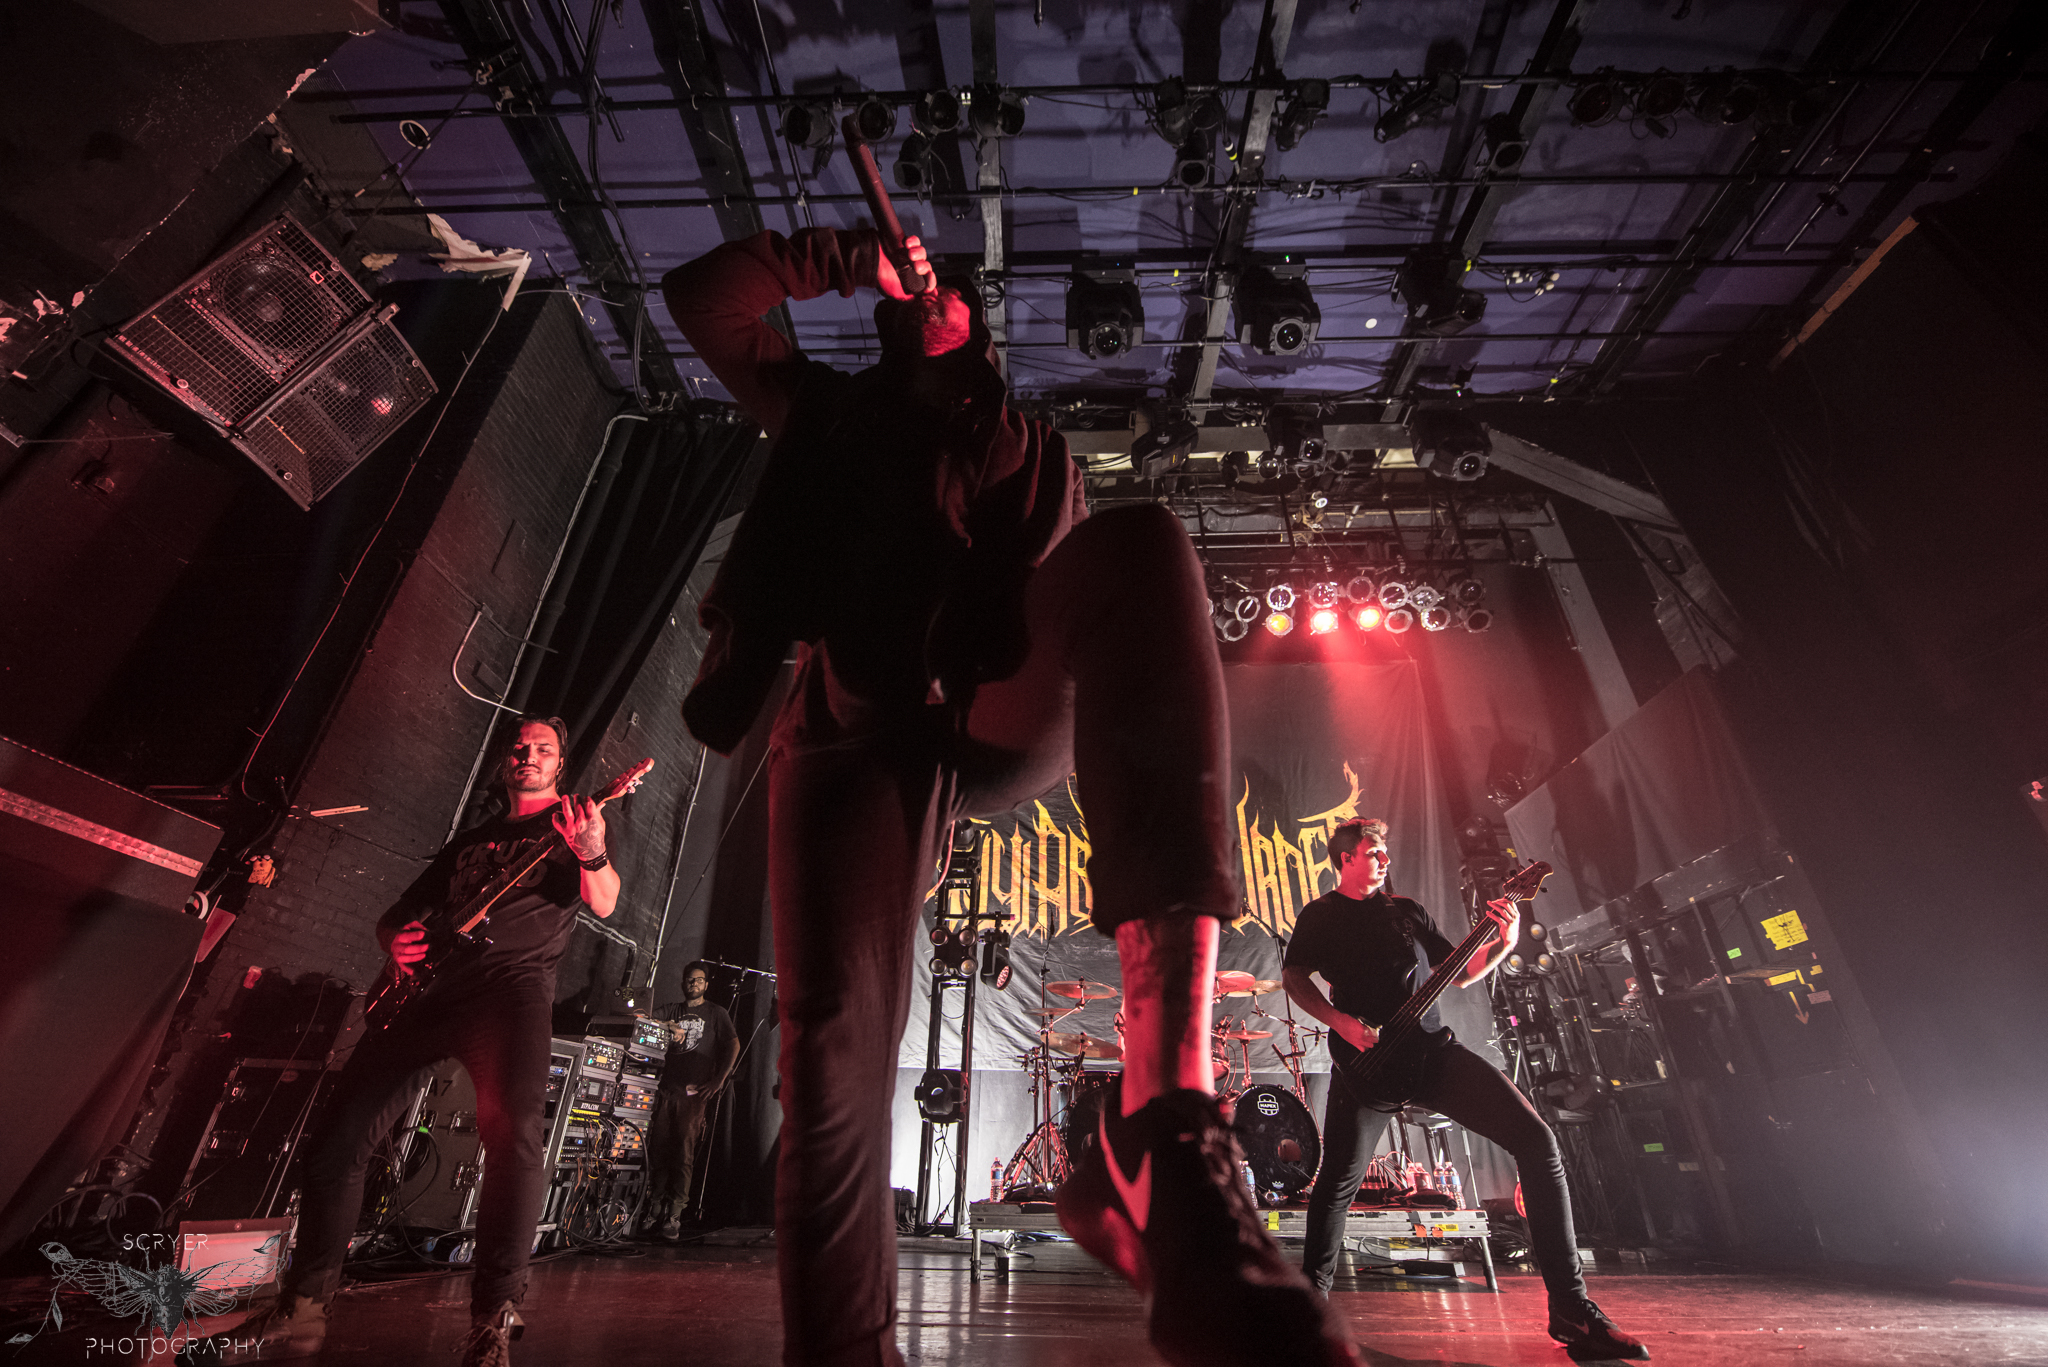
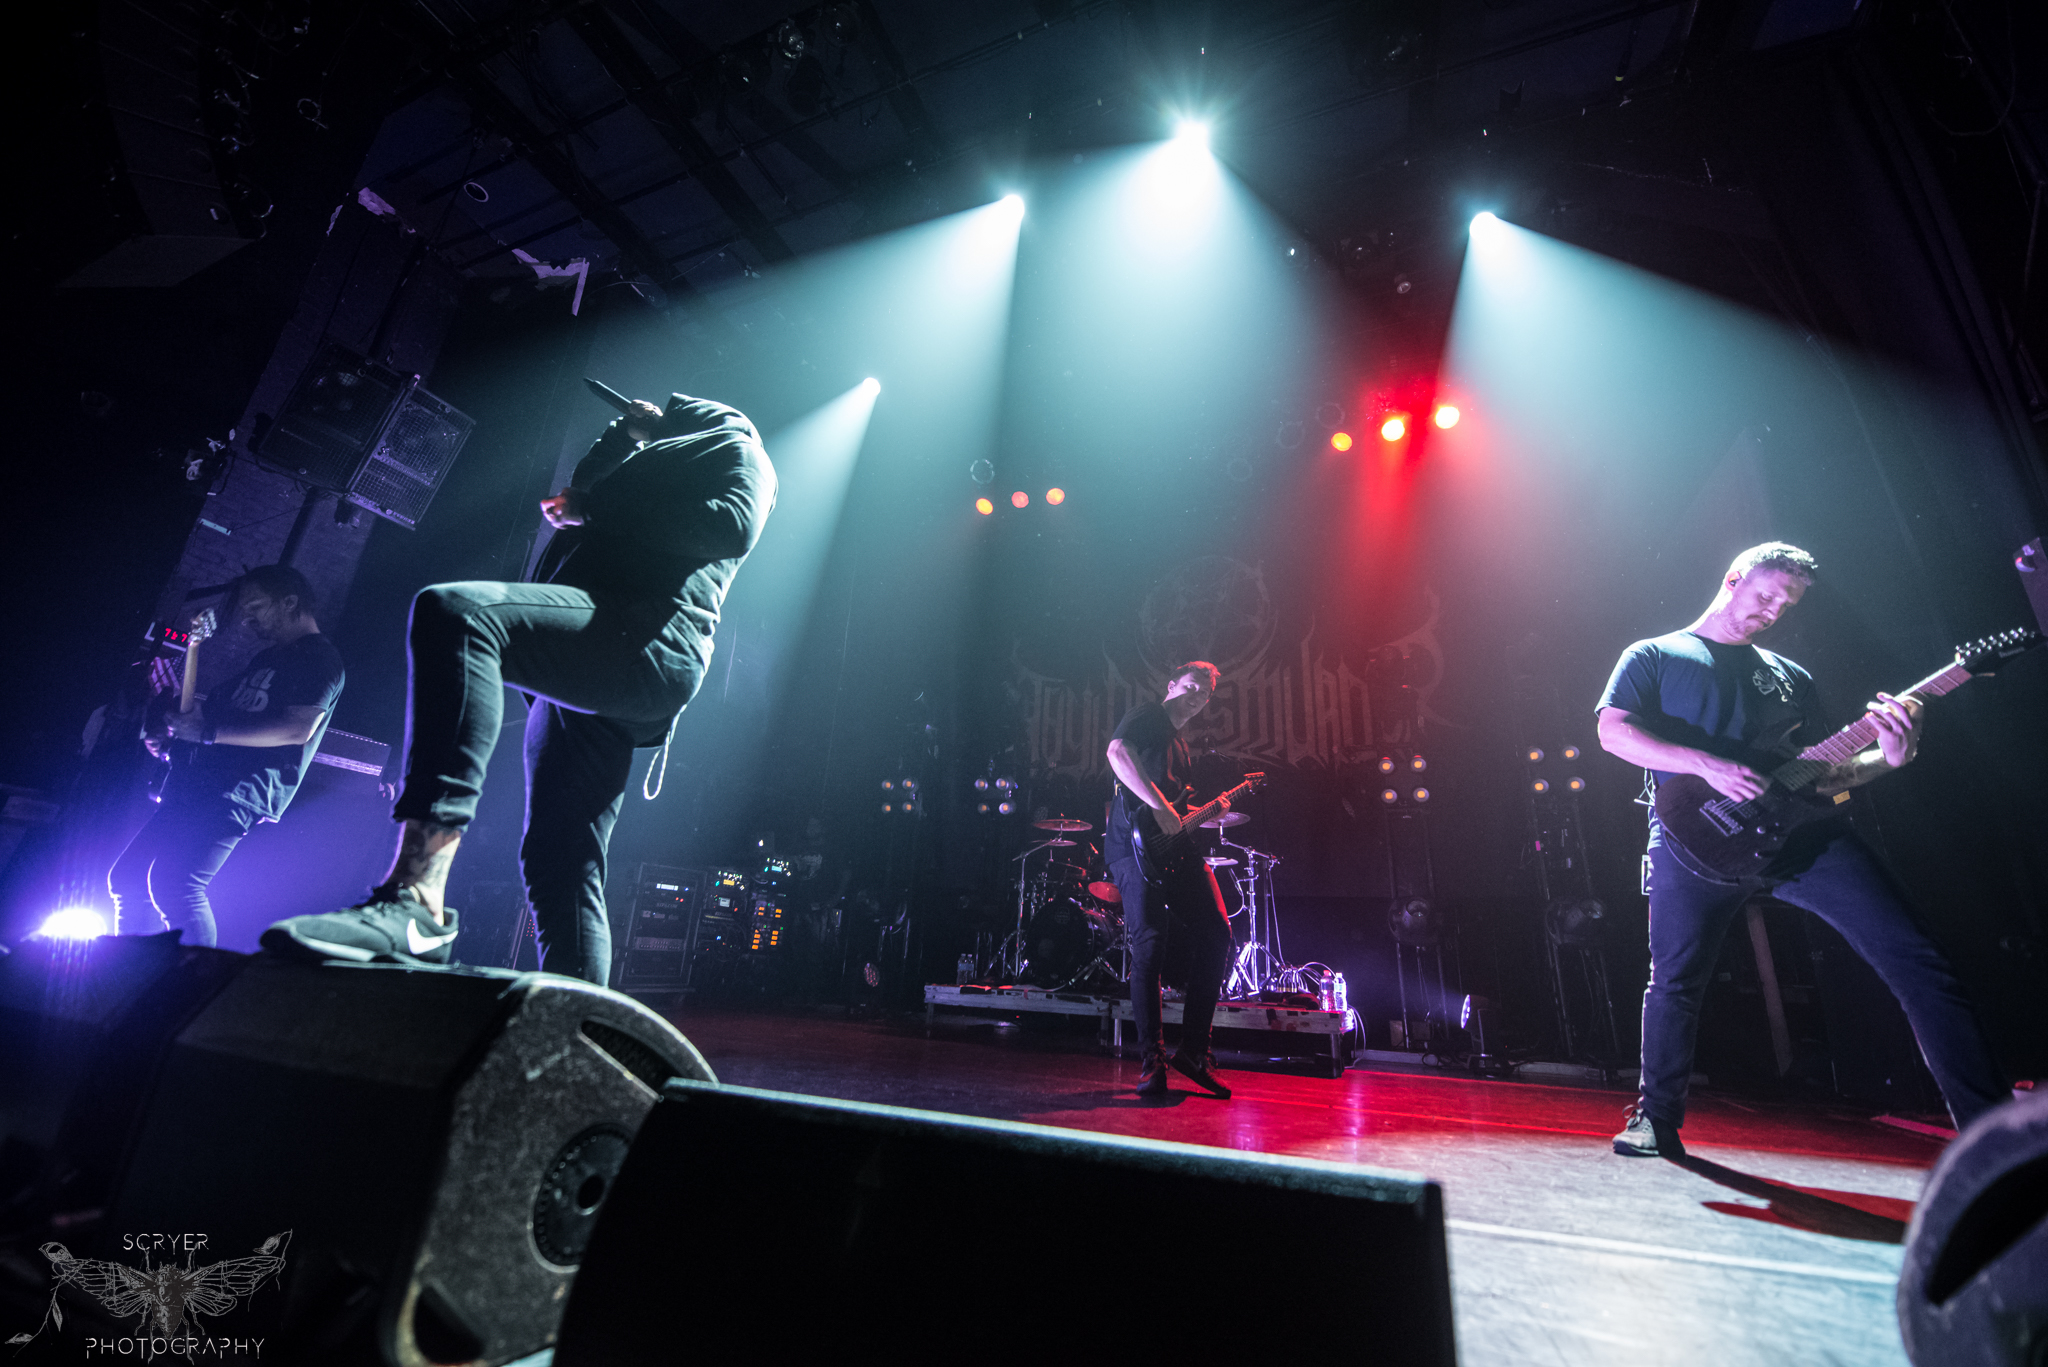
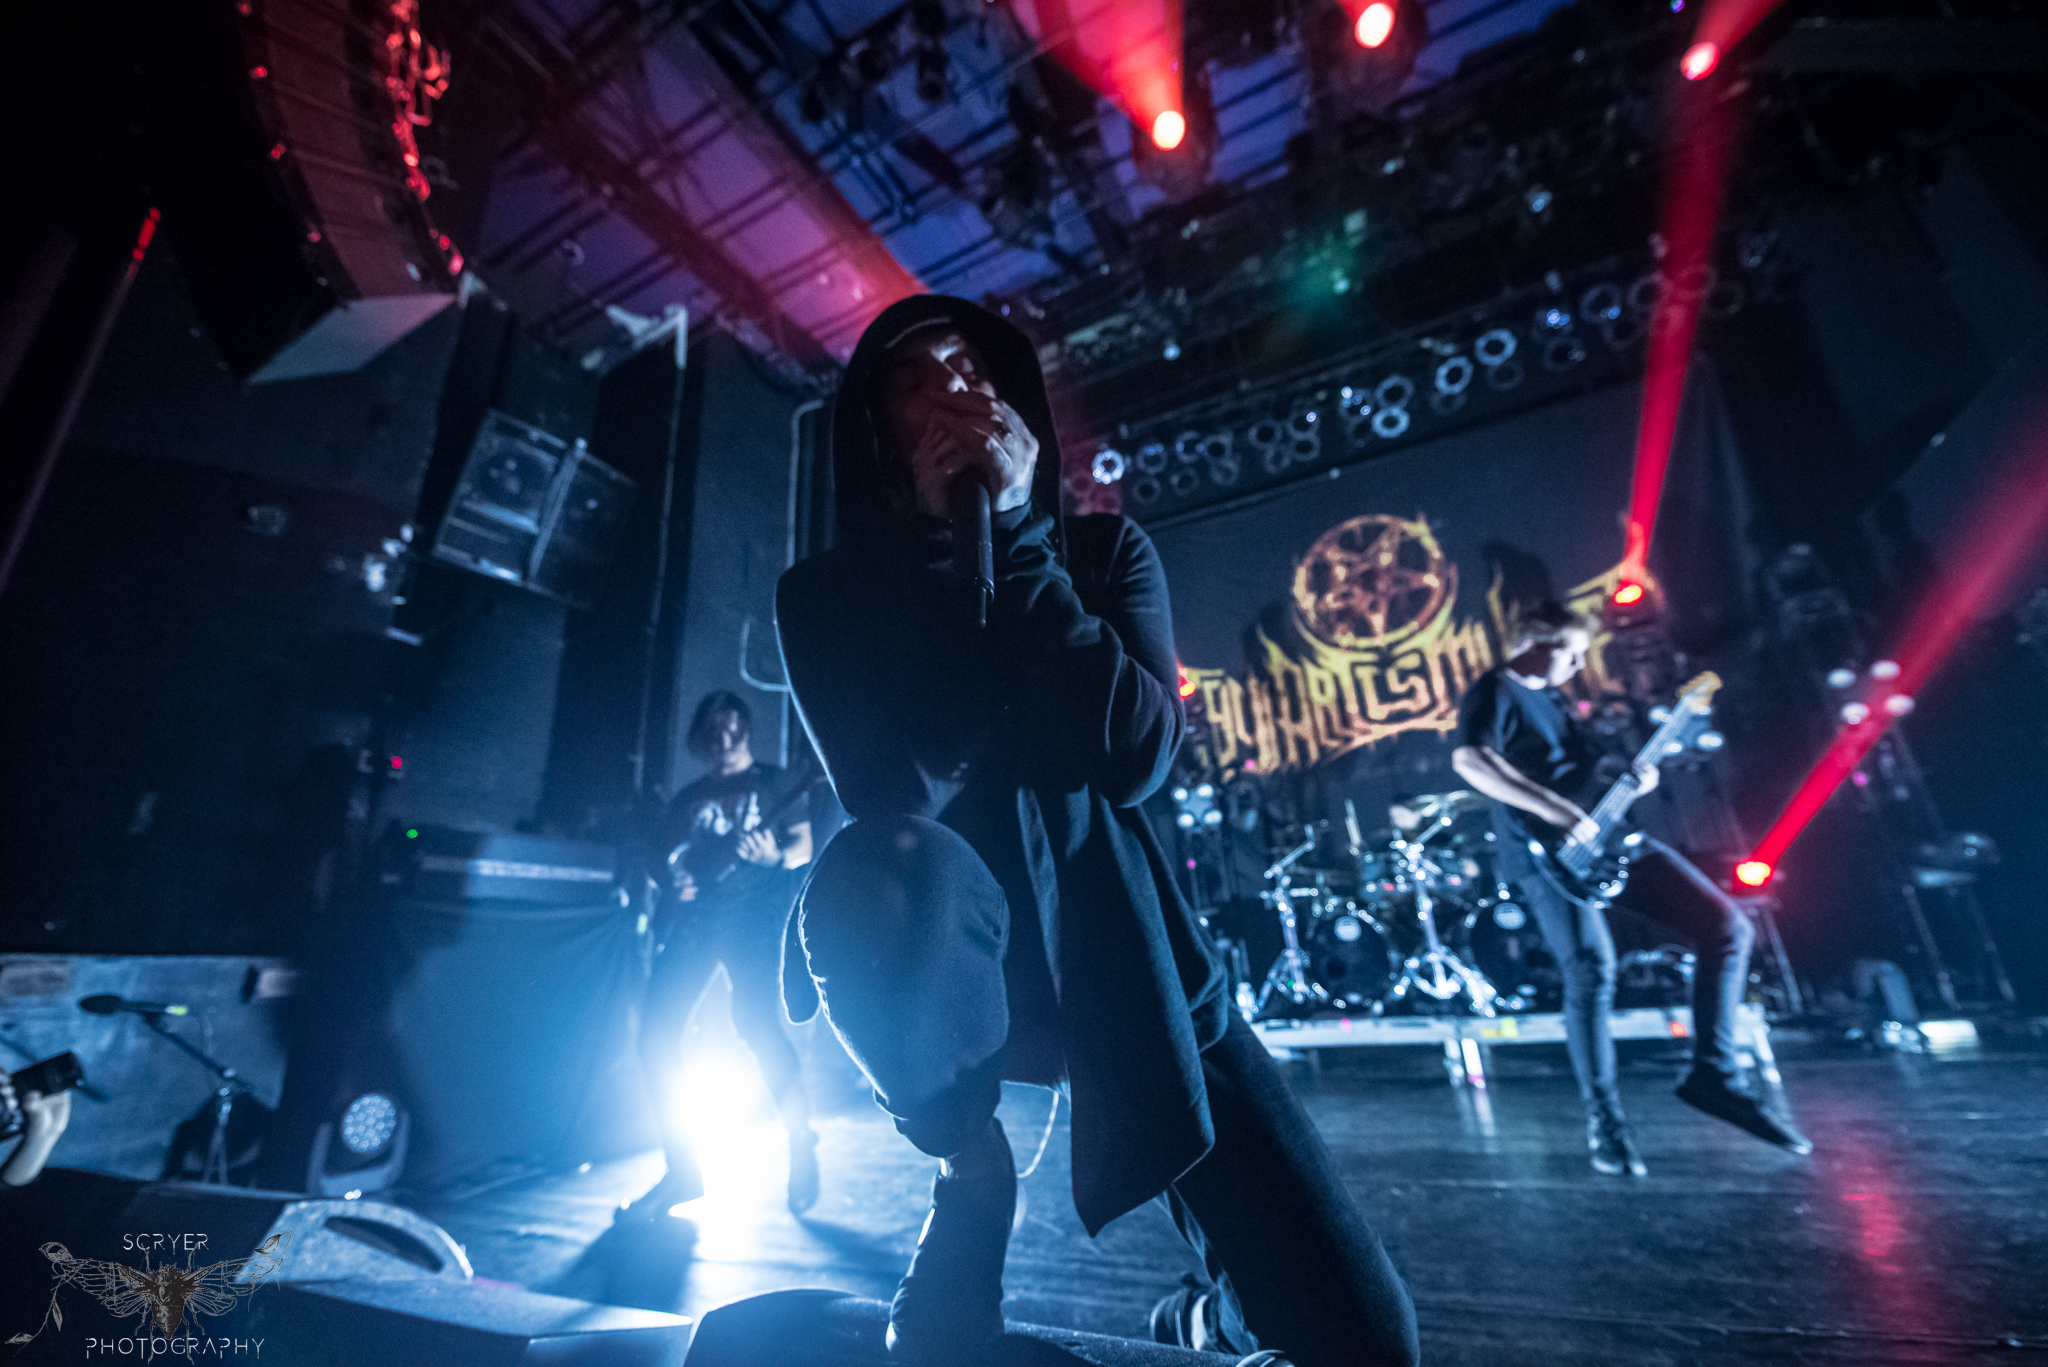
View fullsize View fullsize View fullsize View fullsize View fullsize View fullsize View fullsize View fullsize View fullsize View fullsize View fullsize View fullsize View fullsize View fullsize View fullsize View fullsize View fullsize Thy Art Is Murder: Gramercy Theatre, September 21, 2017 Marissa Rodriguez September 28, 2017
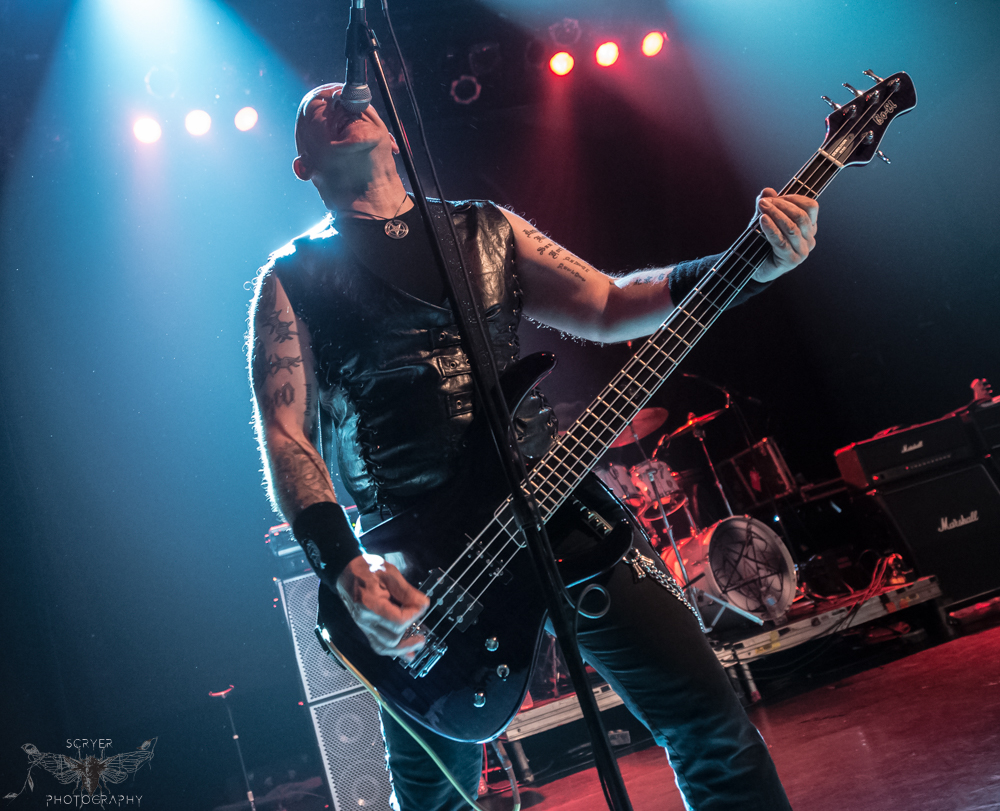
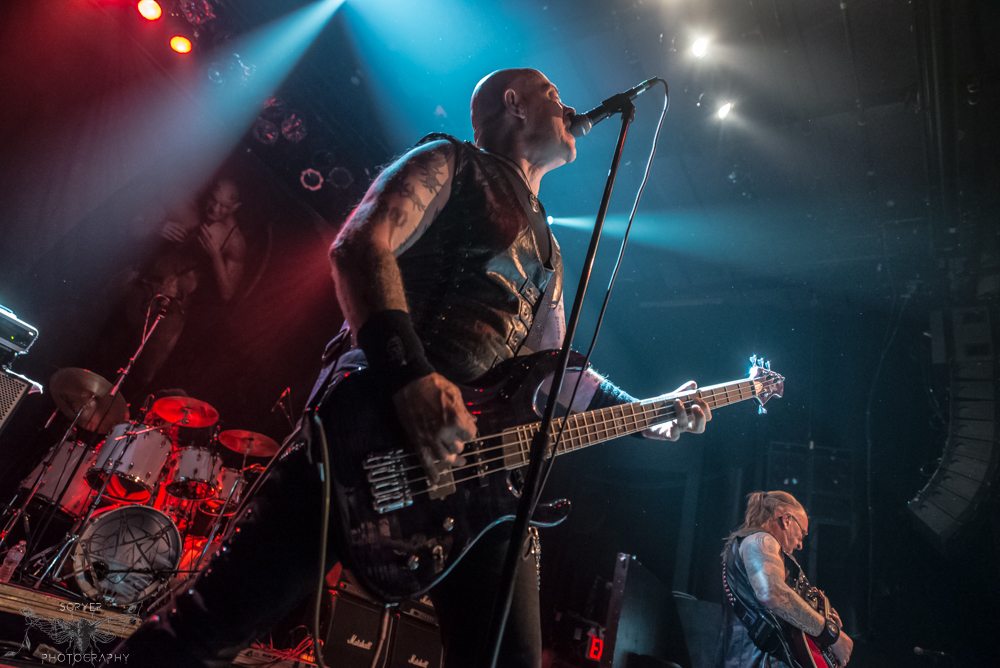
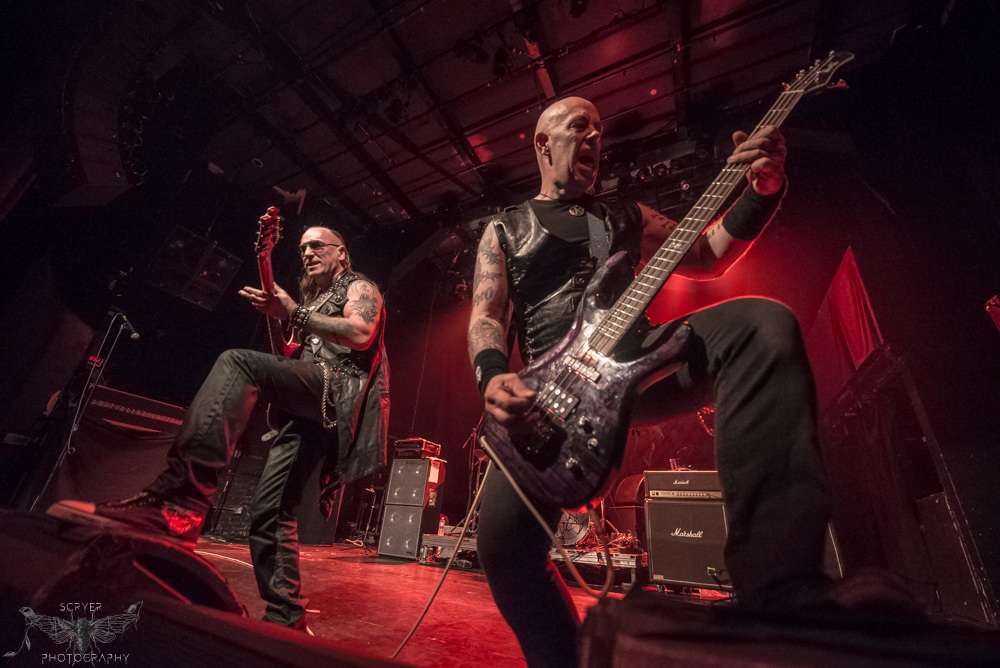
View fullsize View fullsize View fullsize View fullsize View fullsize View fullsize View fullsize View fullsize View fullsize View fullsize View fullsize View fullsize View fullsize View fullsize View fullsize View fullsize View fullsize View fullsize View fullsize View fullsize View fullsize View fullsize View fullsize View fullsize View fullsize View fullsize Venom Inc: Gramercy Theatre, September 2, 2017 Marissa Rodriguez September 7, 2017
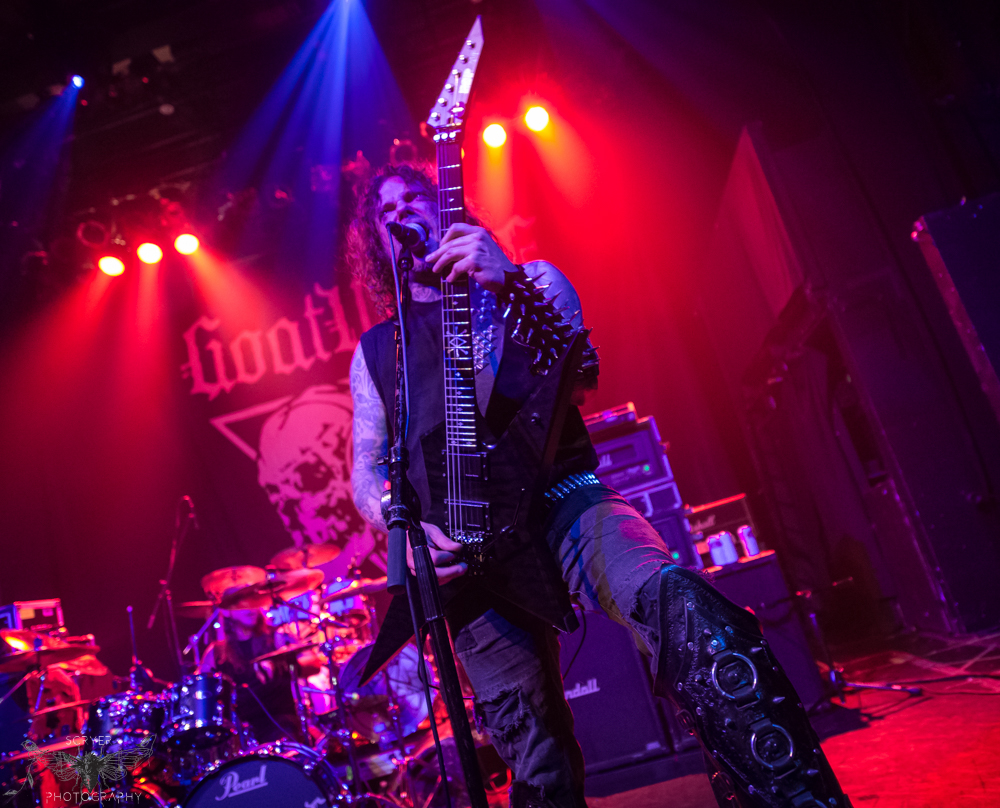
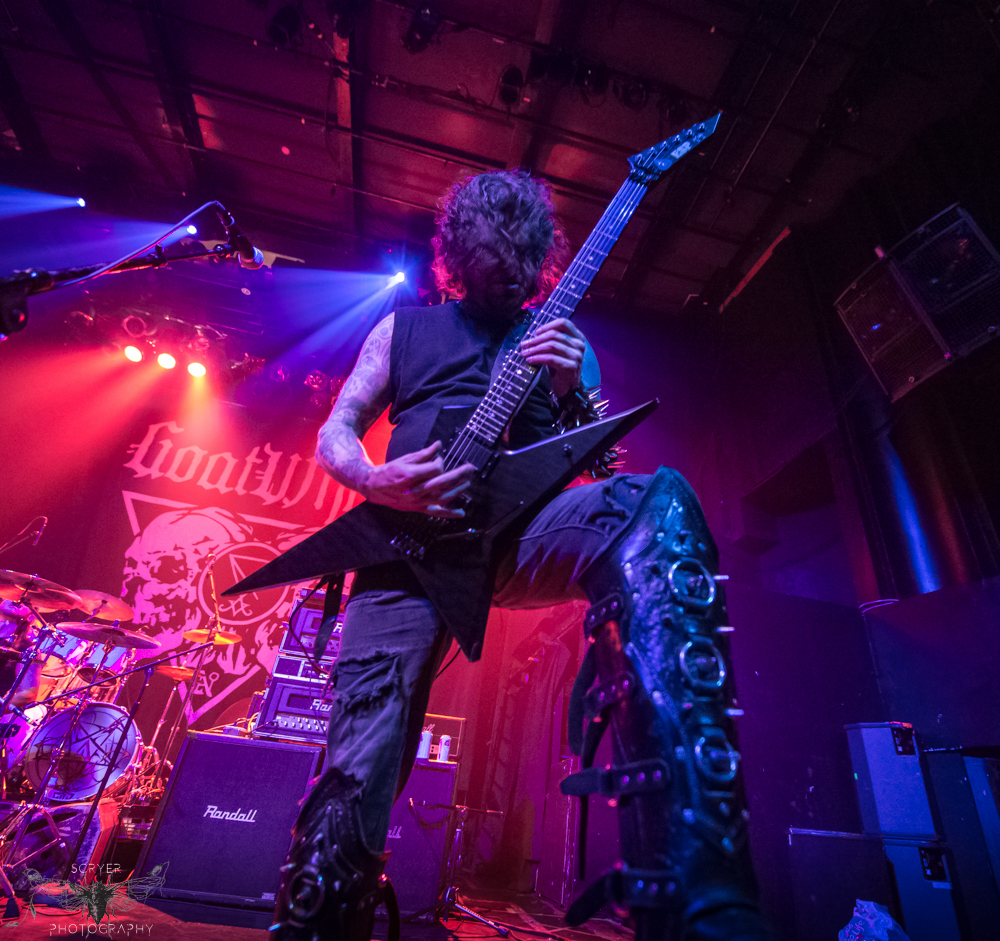
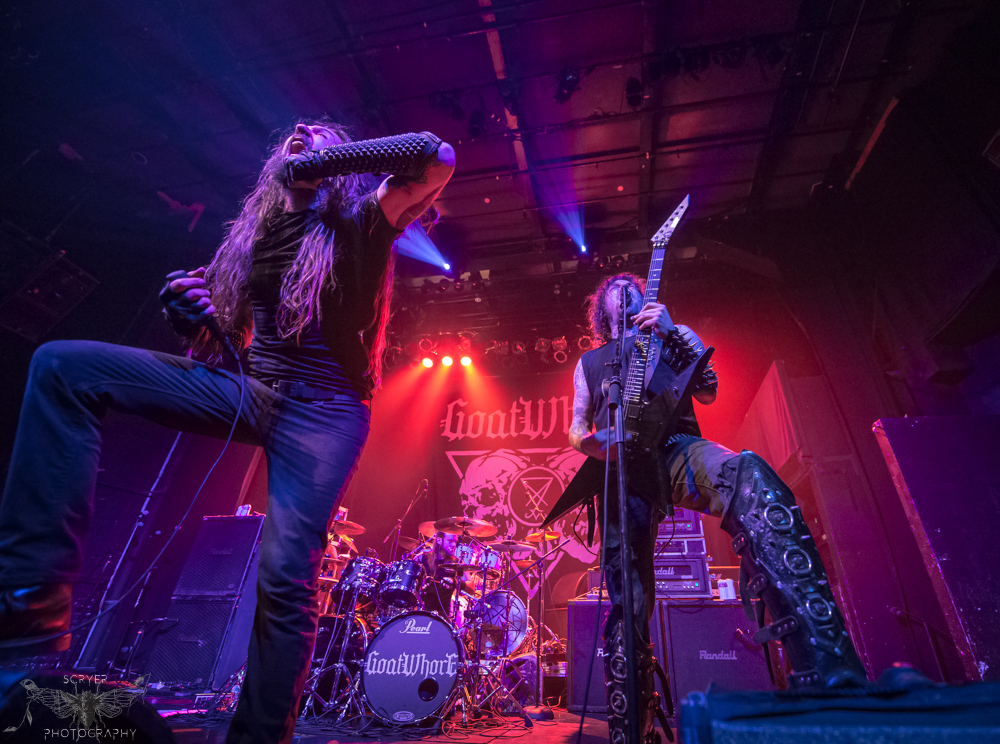
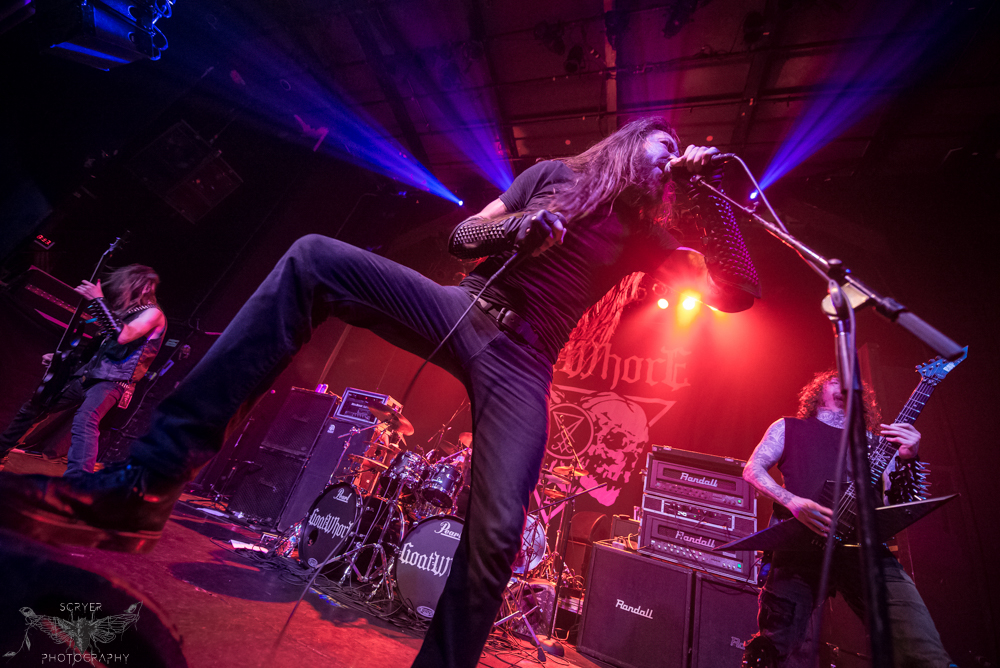
View fullsize View fullsize View fullsize View fullsize View fullsize View fullsize View fullsize View fullsize View fullsize View fullsize View fullsize View fullsize View fullsize View fullsize View fullsize View fullsize View fullsize View fullsize View fullsize View fullsize View fullsize View fullsize View fullsize View fullsize View fullsize View fullsize View fullsize View fullsize View fullsize View fullsize View fullsize Goatwhore: Gramercy Theatre, September 2, 2017 Marissa Rodriguez September 7, 2017